How to Transform a Wall Clock with 7 Simple Materials
Are you tired of that old-fashioned and boring wall clock in your living room? It’s time to give your old wall clock a new life with just several simple materials. Whether you prefer a minimalist style or want a vintage look, transforming your wall clock is a simple and interesting DIY project!
Get ready to explore this list of 7 easy and fun decor ideas to transform your clock. Together with detailed steps, you can make the clock the focal point of any room!
Painting

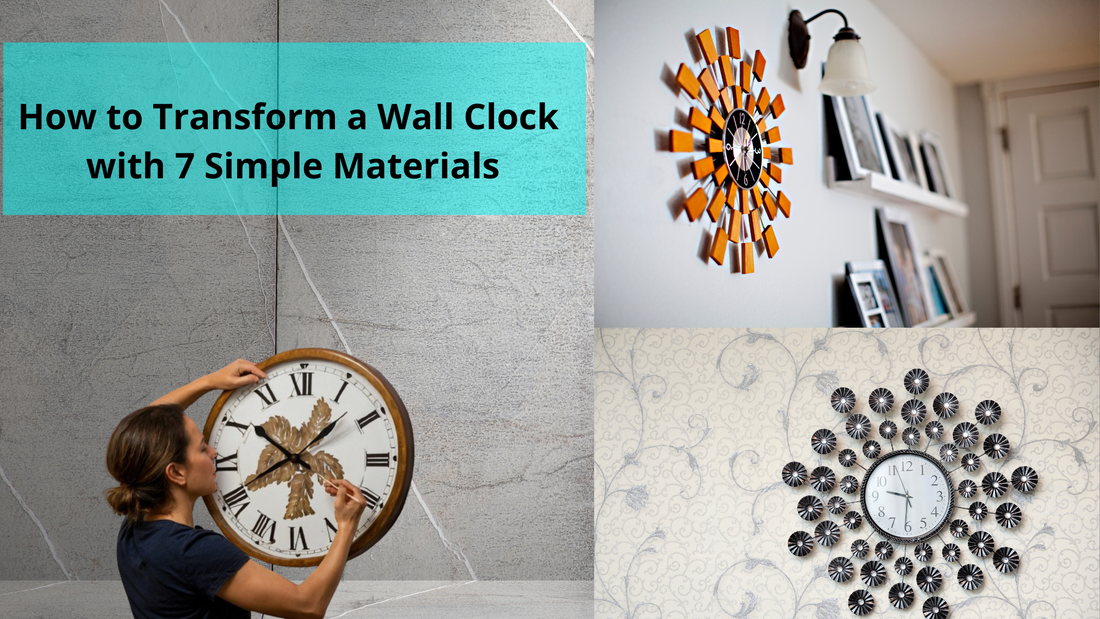
Painting may be the easiest way to transform a wall clock. It lets you unleash your imagination and create a unique clock that will attract your guests' attention.
Choose acrylic, spray, or other paint for your desired look. Dismantle the clock, clean the clock face, and draft your design. If you're not good at painting, try to find a design online and trace it to the clock.
Instead of a thick coat, apply several thin coats to achieve an even finish. Remember to let each coat dry before applying the next. If you prefer a glossy finish, try spraying an extra layer of glitter.
Once all the layers are dry and you’re satisfied with the design, you can reassemble the clock and enjoy your work!
Cover with Fabric

Covering your clock with fabric is another easy way to refresh and brighten it. You can choose the fabric you like, such as rustic linen, elegant brocade, or soft chiffon. Don’t forget to select a color or pattern to complement or contrast your overall decor.
The first step is always to dismantle the clock and then measure the size of the clock face. Based on the size, cut out your fabric, but remember to include 1 or 2 inches to wrap around the edges completely.
After cutting, you can glue the fabric piece onto the clock face. Keep the gluing process careful and slow to avoid any wrinkles or bubbles. To improve the final look, add some other embellishments like buttons or patches. But don't add too many decorations to affect the whole design.
Use a World Map

If you love traveling, you can’t miss this idea! Use a world map to transform your plain wall clock. The first thing to do is dismantle your clock, including the face, hands, and mechanism. Before you apply the world map, to add an extra flair, you can spray-paint the clock frame. Use either natural colors or bright colors.
Next, measure the clock face and cut the same shape on the map. To save time, you can directly use online tools like Canva to edit and print out the picture. Don’t forget to include the areas or countries you love on the map. Now, you can glue the map to the clock face and reassemble the clock.
In addition to paper, you can use tattoo paper to transform the map, too. Don't worry if your map is too small for the clock. You can use
Add an Ornate Frame

For vintage lovers, you must try this elegant DIY idea! If you already have a vintage clock, adding an extra ornate frame can enhance the retro vibe. Or you can use this frame to create a contrasting look with your modern clock.
Use the measuring tape to measure the dimensions of your clock. According to the measurements and clock shape, try to find a fitting frame. Use strong adhesive or other glue to attach the frame and the clock. Leave enough drying time, and your vintage clock will be ready to hang!
Recycle a Leather Belt for Hanging

Do you want to find a new hanging method for your wall clock? Compared to the traditional hanging method, recycling an old leather belt gives your wall clock a brand-new way of hanging.
Based on your preferences, you can choose a complementary or contrasting belt color for your clock. Then, decide the length of the belt and make two marks on the clock frame. If you find the belt is too long, cut it shorter for a balanced look.
With the belt ready, use strong glue to attach it to the marked points on the frame. To hang the clock, use an adhesive hook so that you won't leave ugly holes in the wall.
Craft a Flower Clock
In addition to a leather belt, you can even make a flower clock using plastic spoons. This is such an interesting DIY project to give your clock a vibrant look. Just prepare enough plastic spoons, cardboard, and spray paint, and you’ll create a beautiful flower clock.
To craft a flower clock, trace your clock shape onto the cardboard and decide the flower size. The flower size is how many circles of spoons you'll want to place around the clock.
Based on the size, cut the cardboard into a big circle. Get enough spoons and cut all the handles. Apply the glue and start to place the spoons.
After gluing all the spoons, you can spray-paint them in one color for a simple look or multiple colors for a vibrant appearance. Once the spray paint is dry, you can attach the clock to the center securely and hang it on the wall.
Make an Embroidery Clock
Making an embroidery clock is similar to covering a clock with fabric. Opt for a fabric piece in a suitable size and embroider your favorite pattern. After embroidering, glue the piece onto the clock and trim the excess fabric. Thus, an embroidery clock is complete. It’ll surely add textures and colors to your room decor.
Final Words
To sum up, these are the easiest ideas you can try at home to transform your wall clock. Just with simple materials, you can turn an old clock into a unique and stylish piece of your own style.
Whether you just need a pop of color, some different textures, or a retro vibe, you can always find an idea to suit your needs. So, unleash your imagination, and you’ll make a wall clock that stands out!


